
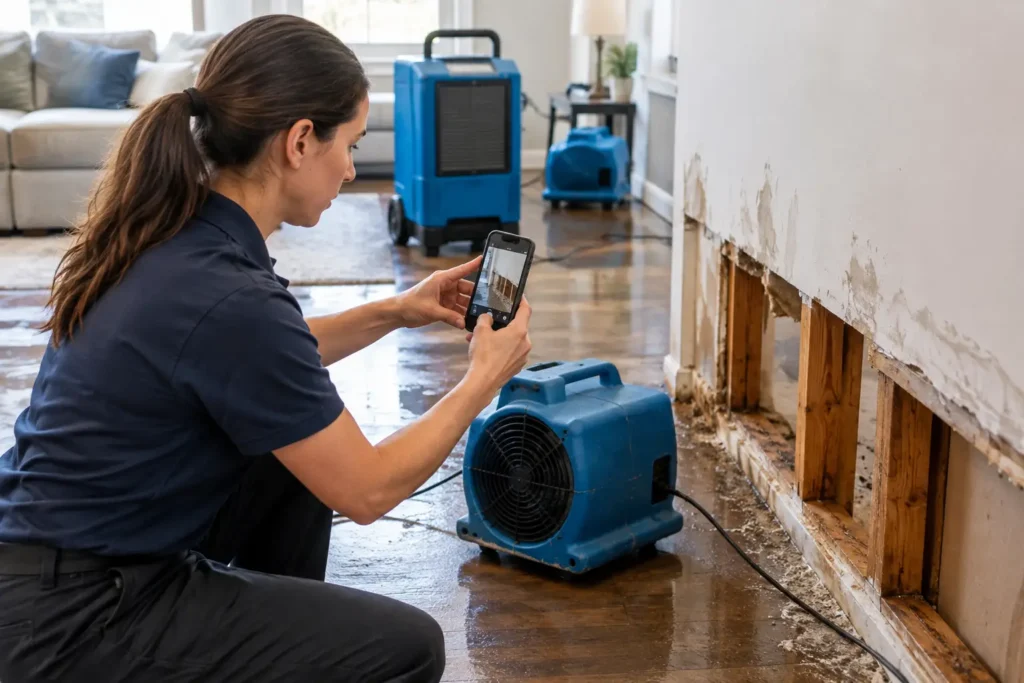
A soaked living room, smoke-coated kitchen, or burst pipe can turn ordinary household items into a confusing pile of decisions. Knowing how to document damaged belongings before anything is discarded, cleaned, or moved gives you a clearer picture of what was lost and creates useful records for your insurance claim. The goal is not to make a perfect inventory in the middle of a crisis. It is to preserve accurate evidence while protecting your family and preventing additional damage.
If there is standing water, sewage, structural damage, an active leak, electrical risk, or fire-related contamination, put safety first. Avoid entering unsafe areas or handling contaminated materials. Take photos from a safe location if possible, then contact qualified restoration professionals for help stabilizing the property.
Start documenting before cleanup begins
Once the source of damage is controlled and it is safe to enter, begin with wide photos and video. Capture every affected room before items are removed, grouped together, cleaned, or thrown away. A slow video walkthrough can be especially helpful because it records the relationship between damaged belongings, walls, floors, and the apparent source of damage.
Stand at the doorway of each room and photograph the full space. Then take photos from several angles, including ceilings, baseboards, cabinets, closets, and furniture. For water damage, include water lines, warped materials, wet carpeting, and visible staining. For fire or smoke damage, document soot, ash, discoloration, charred materials, and odor-affected contents that may not look heavily damaged at first glance.
Move closer only after you have captured the overall scene. Photograph individual belongings, their damage, labels, model numbers, and serial numbers when available. Do not worry if your first set of photos is not polished. Clear, well-lit images taken promptly are more useful than waiting for ideal conditions.
Keep the original files
Avoid editing, filtering, or cropping your original photos and video. Preserve the full files, including their date and time information. Back them up as soon as you can by saving copies to a cloud account, emailing them to yourself, or placing them in a labeled folder on a computer.
If your phone is lost or damaged during the event, ask a family member, neighbor, or restoration professional to help capture initial images. The sooner the condition of the property is recorded, the easier it is to show what happened.
Build a room-by-room inventory
Photos show condition, but an inventory explains what each item is. Work through one room at a time so the task feels manageable. Start with high-value belongings, but do not overlook everyday items. Clothing, linens, kitchenware, books, small appliances, toys, tools, and stored items can add up quickly.
Use a notebook, spreadsheet, notes app, or inventory form. For each item, record the room, item description, brand, model or serial number, approximate age, purchase price if known, and visible damage. If you do not know the exact price or purchase date, write an honest estimate and note that it is estimated.
A useful entry might read: “Primary bedroom – queen upholstered bed frame, dark gray, purchased approximately 2021, water saturation visible along legs and underside, mattress also affected.” This is more helpful than writing only “bed damaged.”
For electronics, photograph identifying labels and serial numbers without turning on equipment that may have been exposed to water or heavy smoke. For furniture, photograph all affected sides, upholstery, drawers, and undersides when it is safe to do so. Small details can help establish the item’s make, condition, and extent of damage.
Separate damaged items from items that may be restorable
Do not assume every affected belonging has the same outcome. Some contents can be cleaned, deodorized, dried, or restored, while others may be unsafe, heavily contaminated, or too damaged to save. The right next step depends on the type of loss, the material involved, the length of exposure, and whether contamination is present.
Create simple categories as you document: damaged, possibly restorable, and unsure. This helps prevent accidental disposal of items that need to be inspected and keeps your inventory organized. It also gives your restoration team and insurance adjuster a clearer starting point.
Do not discard damaged belongings until your insurer has advised you or had an opportunity to inspect them, unless the item creates an immediate health or safety concern. If an item must be removed for safety, take thorough photos first and keep a brief written note explaining why it was disposed of. For contaminated sewage-related contents, avoid handling or attempting cleanup yourself. Qualified professionals can help determine safe handling and disposal procedures.
Protect what can still be protected
Documentation and mitigation should happen together. Waiting too long to address moisture can lead to swelling, staining, mold growth, and further loss. Waiting to address smoke residue can allow odors and corrosive particles to settle deeper into surfaces and belongings.
If it is safe, move unaffected items away from the damaged area. Keep them in a dry, clean location and photograph where they were moved. Avoid stacking wet belongings together or sealing damp items in plastic bags, since trapped moisture can worsen damage. A professional restoration team can inventory, pack out, clean, and store contents when the affected area requires more extensive work.
Gather proof of ownership and value
Your inventory becomes stronger when it is paired with records you already have. Look for receipts, invoices, warranties, appraisal documents, instruction manuals, credit card statements, product registration emails, and prior photos of your home. Even a holiday photo that shows a television, rug, artwork, or furniture in the background can help establish prior ownership and condition.
Search email inboxes for order confirmations from retailers, especially for appliances, electronics, furniture, and larger purchases. If you purchased items in a store and no longer have the receipt, a bank or credit card statement may help confirm the transaction. Keep copies of anything you submit, including screenshots and downloaded statements.
For valuable collections, jewelry, antiques, artwork, or specialty equipment, avoid guessing about value if you have appraisal records or can obtain professional guidance through the appropriate claims process. Describe what you know, preserve any identifying documentation, and communicate clearly when information is unavailable.
Keep a claim and restoration log
After a loss, conversations and appointments can blur together. A simple written log can reduce stress and help you stay organized. Record the date and time of the incident, when you discovered it, actions taken to prevent further damage, and every conversation related to the claim or restoration work.
Include the name of each person you speak with, their company, their contact information, and a few notes about what was discussed. Save claim numbers, inspection appointments, estimates, emails, text messages, and temporary housing or emergency purchase receipts if they apply to your situation.
This log is not about creating extra paperwork. It gives you one reliable place to check details when an adjuster, contractor, or restoration team asks a question weeks later. It can also help you avoid submitting conflicting information when you are understandably tired and overwhelmed.
Understand what not to do
The pressure to get your home back to normal can lead to costly mistakes. Do not clean soot from delicate contents, wash smoke-damaged textiles, or use household fans on potentially contaminated water damage before receiving appropriate guidance. Some cleaning attempts can set stains, spread residue, or make it harder to evaluate the original condition.
Do not turn on wet appliances, electronics, or electrical devices. Do not remove structural materials or dispose of large groups of belongings before they are photographed and discussed with the relevant parties. And do not delay emergency drying or professional assessment simply because you are still building your inventory. Damage documentation matters, but preventing secondary damage matters too.
For Southern California homeowners dealing with a burst pipe, flooding, smoke damage, or an unexpected leak, a qualified restoration team can help document affected areas while beginning the stabilization work your property needs. SOS Restoration provides emergency response and can help homeowners understand the condition of affected contents, moisture-damaged materials, and next steps for recovery.
Make the process manageable
You do not need to finish every room in one day. Start with the most heavily affected spaces and the belongings with the highest value or clearest damage. Set aside short blocks of time, save your work often, and ask a trusted family member to help read labels, locate records, or check off rooms.
When details are uncertain, be specific about what you do know rather than filling gaps with assumptions. Clear photos, honest descriptions, and consistent records create a far more useful file than a rushed inventory that is hard to explain later.
Your belongings tell part of the story of what happened in your home. Recording that story carefully gives you a steadier path forward while the work of drying, cleaning, repair, and recovery begins.